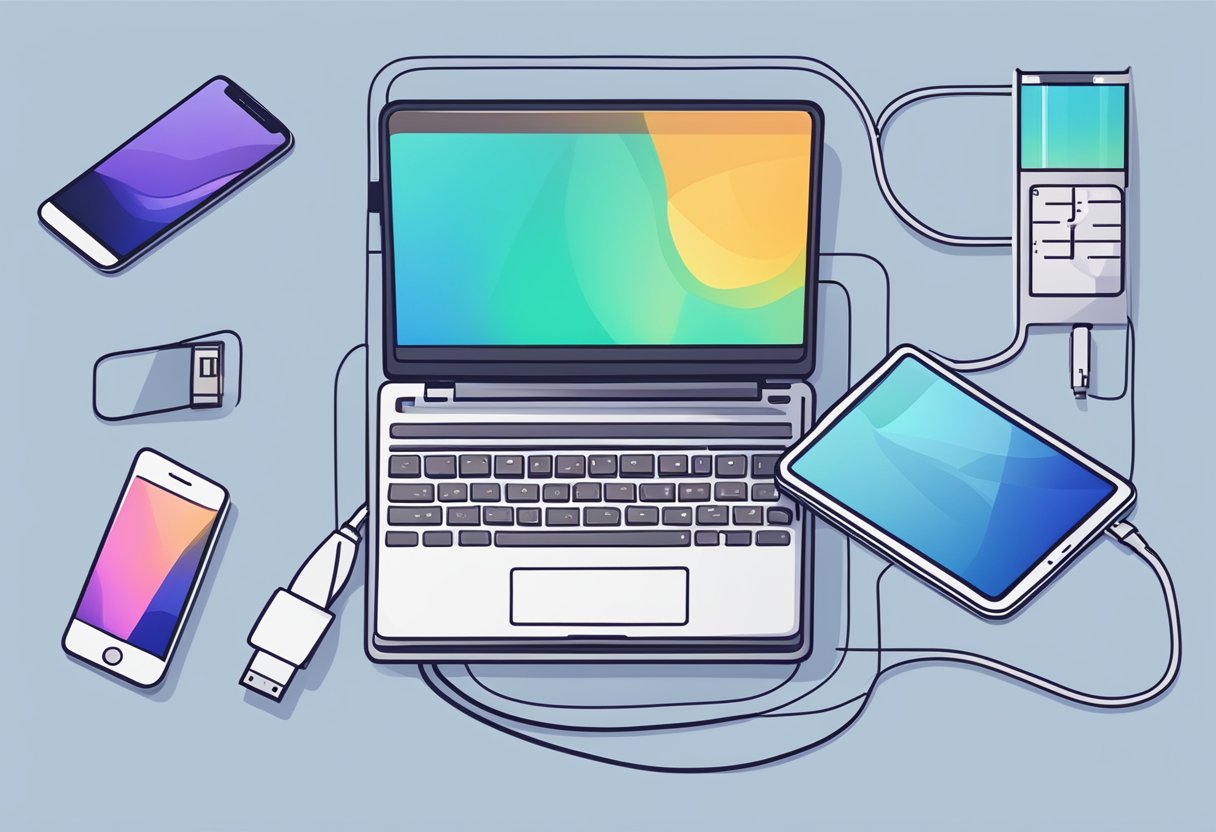
React Native is a popular framework for building cross-platform mobile applications. It allows developers to write code once and deploy it on both iOS and Android platforms. However, setting up a React Native project can be a challenging task, especially for beginners. In this article, we will guide you through the process of setting up a React Native project.
The first step in setting up a React Native project is to install the necessary software. You will need Node.js, npm, and the React Native CLI. Node.js is a JavaScript runtime that allows you to run JavaScript code outside of a web browser. npm is a package manager for Node.js that allows you to install and manage packages. The React Native CLI is a command-line interface that allows you to create, build, and run React Native projects. Once you have installed these tools, you can move on to creating your project.
Environment Setup
Setting up the environment for a React Native project is essential to get started with the development process. Here are the steps to follow:
Install Node.js and npm
Node.js and npm are required to run and manage the dependencies of a React Native project. To install Node.js and npm, follow the steps below:
- Go to the official Node.js website and download the latest version of Node.js.
- Follow the installation instructions provided on the website.
- After installing Node.js, open the terminal and run the following command to check if Node.js and npm are installed correctly:
node -v
npm -v
Install the React Native CLI
React Native CLI is a command-line interface tool that helps in creating and managing React Native projects. To install the React Native CLI, follow the steps below:
- Open the terminal and run the following command:
npm install -g react-native-cli
- After installing the React Native CLI, run the following command to check if it is installed correctly:
react-native --version
Set Up Android Studio
Android Studio is required to build and run the Android version of a React Native project. To set up Android Studio, follow the steps below:
- Download and install Android Studio from the official website.
- After installing Android Studio, open it and install the required SDKs and tools.
- Set up an Android Virtual Device (AVD) to run the Android version of the React Native project.
Set Up Xcode for iOS
Xcode is required to build and run the iOS version of a React Native project. To set up Xcode, follow the steps below:
- Download and install Xcode from the App Store.
- After installing Xcode, open it and install the required SDKs and tools.
- Set up a simulator to run the iOS version of the React Native project.
By following these steps, one can easily set up the environment for a React Native project and start developing.
Project Initialization
Create a New React Native Project
To create a new React Native project, developers can use the react-native init command followed by the project name. This command will create a new project with the basic structure and necessary files needed to get started with React Native development.
react-native init MyApp
This command will create a new project named MyApp with the basic structure and necessary files needed to get started with React Native development. Developers can replace MyApp with their preferred project name.
Understanding the Project Structure
After creating a new React Native project, developers will notice that the project structure is similar to that of a typical React project. The project will contain a package.json file, which holds the project dependencies and scripts.
The project also contains an index.js file, which is the entry point of the application. This file imports the App.js component and renders it to the screen. The App.js file is where developers will write the majority of their code.
Additionally, the project contains an android and ios folder, which hold the necessary files to build the application on Android and iOS respectively. Developers can use these folders to customize the application for each platform.
Overall, understanding the project structure is crucial for developers to navigate and modify their React Native project effectively.
Dependencies and Libraries
Install Essential Libraries
React Native requires some essential libraries to be installed before you can start building your project. These libraries include Node.js, Watchman, and the React Native command-line interface (CLI). Here are the steps to install these essential libraries:
- Install Node.js: Go to the official Node.js website and download the installer for your operating system. Follow the installation instructions to install Node.js.
- Install Watchman: Watchman is a tool that watches for changes in your files and triggers actions when they change. You can install Watchman using Homebrew on macOS or Chocolatey on Windows. Run the following command in your terminal to install Watchman using Homebrew:
brew install watchmanOr, run the following command in your PowerShell to install Watchman using Chocolatey:choco install watchman - Install the React Native CLI: Use npm to install the React Native CLI globally by running the following command in your terminal:
npm install -g react-native-cli
Configure Navigation
React Navigation is a popular library for building navigation in React Native apps. You can install React Navigation using npm by running the following command in your terminal:
npm install @react-navigation/native
After installing React Navigation, you need to install its dependencies by running the following command:
npm install react-native-reanimated react-native-gesture-handler react-native-screens react-native-safe-area-context @react-native-community/masked-view
Once you have installed React Navigation and its dependencies, you can start configuring your navigation. React Navigation provides several types of navigators, such as Stack Navigator, Tab Navigator, and Drawer Navigator, that you can use to build your navigation. You can also customize your navigation by creating your own navigator components.
In summary, installing essential libraries such as Node.js, Watchman, and the React Native CLI is necessary for building a React Native project. Additionally, configuring navigation using React Navigation can enhance the user experience of your app.
Development Workflow
Developing a React Native project requires an efficient workflow to ensure a smooth development process. This section covers two essential aspects of the development workflow: running the app on a simulator and debugging and hot reloading.
Running the App on a Simulator
To run a React Native app on a simulator, developers need to install and set up the necessary tools. The most common tools used for running the app on a simulator are Xcode for iOS and Android Studio for Android.
Once the tools are installed, developers can run the app on a simulator by running the following command in the terminal:
react-native run-ios
or
react-native run-android
This command will build the app and launch it on the simulator. Developers can then use the simulator to test the app and make changes as needed.
Debugging and Hot Reloading
Debugging and hot reloading are crucial aspects of the development workflow. Debugging helps developers identify and fix errors in the code, while hot reloading allows them to see the changes they make to the code in real-time.
To debug a React Native app, developers can use the debugging tools provided by the platform-specific development tools. For example, Xcode provides a debugger for iOS, while Android Studio provides a debugger for Android.
Hot reloading, on the other hand, can be enabled by running the following command in the terminal:
react-native run-ios --hot
or
react-native run-android --hot
This command enables hot reloading, which allows developers to see the changes they make to the code in real-time without having to rebuild the app. This can significantly speed up the development process and save time.
Overall, an efficient development workflow is crucial for developing a React Native app. By following the steps outlined in this section, developers can ensure a smooth development process and build high-quality apps.
Build and Deployment
Building the App for Production
Once the development of the React Native app is complete, the next step is to build the app for production. Building the app for production is a crucial step in the app development process as it ensures that the app is optimized for performance and ready for deployment.
To build the app for production, developers can use the following command:
react-native run-android --variant=release
This command generates a signed APK file that can be uploaded to the Google Play Store or any other app store. It is important to note that the APK file generated using this command is optimized for performance and has a smaller file size compared to the debug version of the app.
Deploying to App Stores
After the app has been built for production, the next step is to deploy it to the app stores. The process of deploying the app to the app stores can be different for each platform.
Google Play Store
To deploy the app to the Google Play Store, developers need to create a Google Play Developer Console account and follow the guidelines provided by Google. Once the app is uploaded, it will undergo a review process before it is published to the store.
Apple App Store
To deploy the app to the Apple App Store, developers need to create an Apple Developer account and follow the guidelines provided by Apple. The app will undergo a review process before it is published to the store.
It is important to note that the app store review process can take some time, so developers need to plan accordingly. Additionally, developers need to ensure that the app meets the guidelines provided by the app stores to avoid rejection or removal from the store.
In conclusion, building and deploying a React Native app for production can be a complex process, but it is crucial for ensuring that the app is optimized for performance and ready for deployment. By following the guidelines provided by the app stores, developers can ensure that their app meets the required standards and is published to the store successfully.