 Pular para o conteúdo
BLOG
Alert React Native Expo: How to Implement and Customize UIAlerts
31/01/2024
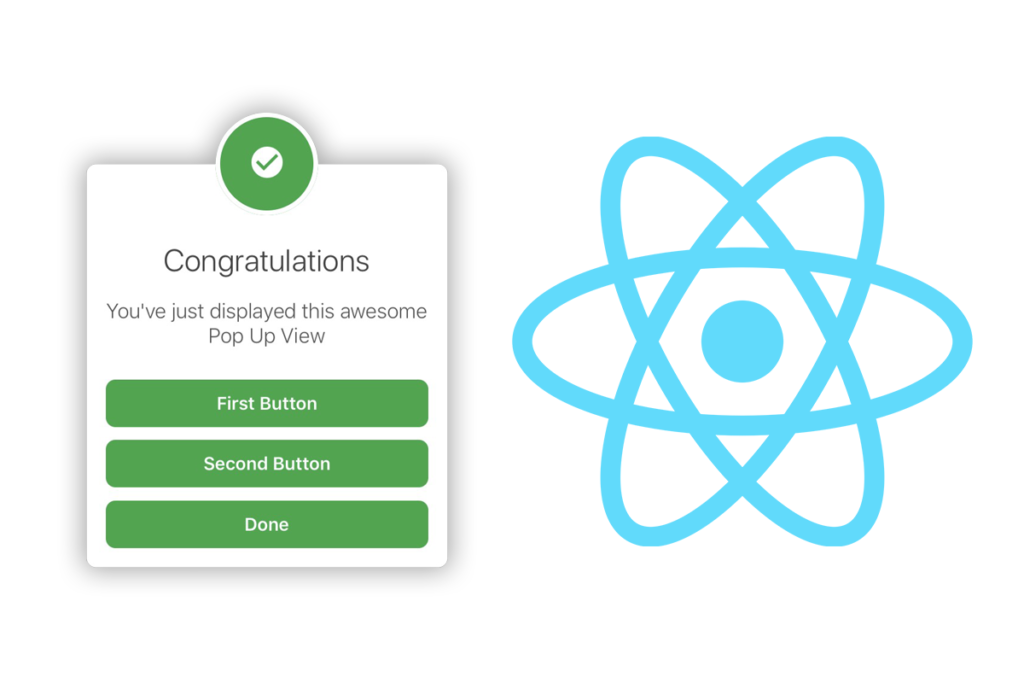
In the dynamic world of mobile app development, user interaction plays a pivotal role in shaping user experience. Alerts, or UIAlerts, are critical components that provide immediate communication with the user, offering information, warnings, or required actions. This article dives into implementing and customizing UIAlerts within the React Native framework, particularly using the Expo development environment. Designed for programmers, this guide will cover from basic implementations to more advanced customizations, ensuring that you can engage effectively with your app’s users through well-designed UIAlerts.
Understanding UIAlerts in React Native
UIAlerts in React Native are essential for enhancing user interaction by providing timely notifications and gathering user responses through dialogs. These alerts are modal, meaning they require the user to interact with them before they can continue using the app. This functionality is crucial in scenarios where user confirmation is necessary before proceeding with a task, such as deleting sensitive data or accessing location services.
What are UIAlerts?
UIAlerts are pop-up dialogs that can display a title, a message, and buttons with actions that the user can take. They are used to:
- Inform users about errors.
- Warn users about potential risks.
- Confirm user intentions before performing a critical operation.
Difference Between UIAlerts and Traditional Alerts
The traditional alerts in mobile app development are often native to the platform (iOS or Android), requiring different implementations for each. In contrast, React Native allows developers to implement a unified alert system that works across both platforms using the same codebase. This cross-platform compatibility is achieved through React Native’s abstracted APIs, which provide a seamless experience on both iOS and Android devices.
By utilizing React Native’s alert mechanism, developers can save time and reduce code redundancy, ensuring a consistent user experience regardless of the device.
In the next section, we will go through the initial setup required for using React Native and Expo to implement these UIAlerts, including the necessary tools and libraries.
Setting Up Your Environment
Before diving into the implementation of UIAlerts, it’s essential to set up a proper development environment. This section will guide you through preparing your system to develop React Native applications using Expo, which simplifies the process and provides a robust set of tools to get started quickly.
Installing Node.js and the Expo CLI
The first step is to ensure that Node.js is installed on your system. Node.js is crucial because it allows you to run JavaScript on your computer, which is necessary for developing React Native apps.
- Download and install Node.js: Visit the Node.js website and download the LTS version suitable for your operating system.
- Install Expo CLI: Once Node.js is installed, open your terminal or command prompt and install the Expo Command Line Interface (CLI) by running:
npm install -g expo-cli
Creating a New React Native Project with Expo
With the Expo CLI installed, you can now create a new React Native project:
- Create the project:
expo init MyNewProject
- Follow the prompts to choose a template. For beginners, the “blank” template is a straightforward choice.
- Navigate into your project directory:
cd MyNewProject
3. Start the development server:
expo start
- This command launches the Expo developer tools in your browser. You can run your app on an Android or iOS simulator, or on a physical device using the Expo Go app, which can be downloaded from the App Store or Google Play.
Setting Up an Emulator
To test your app more effectively, setting up an emulator might be beneficial:
- Android Emulator: Install Android Studio and use its AVD Manager to set up an Android emulator.
- iOS Simulator: If you’re on a Mac, you can install Xcode to use its built-in iOS Simulator.
By now, your development environment should be ready, and you can begin coding UIAlerts in your new React Native project with Expo.
Implementing Basic UIAlerts
Now that your development environment is set up, we can start implementing basic UIAlerts in your React Native application. React Native provides a straightforward API to create and manage UIAlerts that work seamlessly across iOS and Android.
Using the Alert Module
React Native includes a built-in module called Alert that is used to display UIAlerts. Here’s how you can use it to create a simple alert:
- Import the Alert Module: Import the
Alertfrom React Native at the top of your file.
import { Alert } from 'react-native';
Creating a Basic Alert: You can create a basic alert that displays a message and an “OK” button. Here’s a simple example:
Alert.alert(
  "Welcome", // Title of the alert
  "Hello, welcome to our application!", // Message of the alert
  [
    {text: "OK", onPress: () => console.log("OK Pressed")}
  ],
  { cancelable: false }
);
- This code snippet creates an alert with a title “Welcome” and a message. It includes one button labeled “OK”. When the button is pressed, it simply logs “OK Pressed” to the console. The
cancelable: falseoption means the alert cannot be dismissed by tapping outside of it.
Explaining the Code
- Title: This is the title displayed at the top of the alert dialog.
- Message: This is the message displayed below the title.
- Buttons: An array of objects representing the buttons. Each button object can have properties like
text,onPress, andstyle. - Options: An object that can include various settings, like
cancelable, which controls whether the alert can be dismissed without pressing a button.
Common Issues and Solutions
When implementing basic UIAlerts, you might encounter some common issues:
- Alerts not showing up: Make sure that the Alert code is being executed. Use console logs to check if the part of the code with Alert.alert is running.
- Handling multiple buttons: You can add more buttons by expanding the buttons array. Each button can have its own onPress function to handle different actions.
By utilizing UIAlerts effectively, you can enhance user interaction by providing timely and relevant information.
Customizing UIAlerts
After mastering the basics of UIAlerts in React Native, the next step is to tailor these alerts to better fit the look and functionality of your application. React Native’s Alert module is quite flexible, allowing for various customizations from simple style adjustments to adding multiple buttons with different actions.
Customizing Alert Buttons
To customize the buttons in your UIAlerts, you can modify properties such as text, onPress, and style. Here’s how to implement a more customized alert:
Alert.alert(
  "Confirmation",
  "Are you sure you want to delete this file?",
  [
    {
      text: "Cancel",
      onPress: () => console.log("Cancel Pressed"),
      style: "cancel"
    },
    {
      text: "Delete",
      onPress: () => console.log("Delete Pressed"),
      style: "destructive"
    }
  ],
  { cancelable: true }
);
In this example, there are two buttons: “Cancel” and “Delete”. Each button has a specific role:
- Cancel Button: Styled as
cancel, which typically styles the button in a way that indicates it is a safe choice. - Delete Button: Styled as
destructive, which often changes the button’s color to red, signaling that it is a risky action.
Adding Icons and Custom Layouts
While the basic Alert module does not support icons or highly customized layouts directly, you can achieve greater customization by using third-party libraries such as react-native-customizable-alert, which allow for the inclusion of icons, custom animations, and more complex layouts.
Styling UIAlerts
For basic styling changes directly within React Native’s limitations:
- Title and Message Styles: You can control the font size, color, and weight by tweaking the global styles of your application, but direct inline styling of the
Alerttitles or messages is not supported natively. - Third-party Libraries: For more in-depth styling and customization, such as changing the background color of the alert or the buttons’ layout, consider using third-party components that replace the native
Alertmodule.
Best Practices for UIAlert Customization
When customizing UIAlerts, keep the user experience in mind:
- Consistency: Keep your alerts consistent with the overall design of your application.
- Accessibility: Ensure that the alerts are accessible, with readable text sizes and colors that have good contrast.
Customizing UIAlerts allows for a seamless integration into the user interface of your application, enhancing both the aesthetic appeal and the functionality.
Advanced Techniques for UIAlerts
As you become more comfortable with the basic and customized implementations of UIAlerts in React Native, you may encounter scenarios that require more advanced techniques. These might include managing UIAlerts with state management tools or using hooks to control alert logic based on application state. This section covers these advanced techniques to enhance your alert management strategies.
Integration with State Management
Using a state management tool, like Redux, can help manage the state of UIAlerts across different components of your application. This is particularly useful in larger apps with complex states:
- Using Redux to Manage Alerts:
- Store Setup: Configure your Redux store to include state for alerts.
- Action Creators: Create actions for showing and hiding alerts.
- Reducers: Handle alert actions in your reducers to modify the alert state.
const initialState = { showAlert: false, message: '' };

function alertReducer(state = initialState, action) {
  switch (action.type) {
    case 'SHOW_ALERT':
      return { ...state, showAlert: true, message: action.payload };
    case 'HIDE_ALERT':
      return { ...state, showAlert: false, message: '' };
    default:
      return state;
  }
}
- Connect React Component: Use Redux’s
connectmethod to map state and dispatch to your component props. Then, you can trigger alerts based on the Redux state.
Using Hooks for Alert Logic
React hooks provide a way to handle state and side effects in functional components. You can use the useState and useEffect hooks to control UIAlerts based on other state variables:
import React, { useState, useEffect } from 'react';
import { Alert } from 'react-native';

function UseAlertExample() {
  const [count, setCount] = useState(0);

  useEffect(() => {
    if (count > 5) {
      Alert.alert("Count Alert", "The count is over 5!");
    }
  }, [count]);

  return (
    // Component code
  );
}
In this example, an alert is triggered whenever the count exceeds 5. The useEffect hook watches the count state and displays an alert based on its value.
Best Practices and Considerations
- Performance: Ensure that the use of state management and hooks does not negatively impact the performance of your app.
- Complexity Management: Use these advanced techniques judiciously to avoid unnecessary complexity in your application architecture.
By integrating advanced state management techniques and using hooks, you can create a more dynamic and responsive application that handles UIAlerts intelligently based on user interactions and application state.
Best Practices and Performance Optimization
Using UIAlerts effectively involves more than just handling their appearance and behavior; it also requires attention to performance and adherence to best practices. In this section, we will cover essential tips to enhance the performance of UIAlerts in your React Native applications and highlight some common pitfalls to avoid.
Optimizing Performance
- Minimal Use of Alerts: Overusing alerts can degrade the user experience and the performance of your application. Use alerts sparingly and only when necessary to convey important messages or confirm critical actions.
- Avoid Blocking the Main Thread: Since UIAlerts are modal and block user interaction, ensure they are used in a manner that does not block the main application thread longer than necessary.
- Optimize State Updates: When using state management or hooks with UIAlerts, optimize how state changes are handled to prevent unnecessary re-renders of your components.
Pitfalls to Avoid
- Overuse of Alerts: Frequent interruptions can frustrate users. Always consider if an alert is the best way to convey information or if other UI elements like notifications or toasts could be more appropriate.
- Complex Alert Logic: While it’s tempting to use sophisticated logic for UIAlerts, especially with state management or hooks, maintain simplicity in your alert logic to avoid bugs and maintain readability.
- Ignoring Accessibility: Ensure that UIAlerts are accessible. This includes providing adequate contrast for text and ensuring that alerts are screen reader friendly.
Implementing Best Practices
To implement these best practices, consider the following guidelines:
- User-Centric Design: Design UIAlerts with the user’s convenience in mind. Ensure that alerts do not disrupt the user flow unnecessarily.
- Testing and Feedback: Regularly test the implementation of UIAlerts across different devices and gather user feedback to understand their impact on the user experience.
By focusing on these optimization strategies and best practices, you can ensure that UIAlerts contribute positively to the usability and performance of your React Native applications.
Additional Resources
Before wrapping up, here are some valuable resources that can further aid your understanding and skill in working with UIAlerts in React Native and Expo:
- React Native Documentation for Alerts: For the official details and updates on UIAlerts, visit the React Native documentation page here.
- Expo Official Site: To explore more about Expo and how it simplifies React Native development, check the Expo official site.
- GitHub Repository for Customizable Alerts: If you’re looking for customizable alert options, this GitHub repository offers a great example: React Native Expo Fancy Alerts.
- Educational Video on YouTube: For a visual and practical explanation, watch this YouTube video by Net Ninja, which provides a step-by-step guide on using alerts in React Native: Watch the video.
These resources will help you dive deeper into UIAlerts, offering both official documentation and community-driven examples and tutorials.
Conclusion
In this comprehensive guide, we’ve explored how to implement and customize UIAlerts in React Native using the Expo framework. Starting from the basic setup and introduction to UIAlerts, we progressed through implementing basic alerts, customizing them with advanced configurations, and finally integrating advanced techniques for managing UIAlerts efficiently.
As you develop your React Native applications, keep in mind the importance of user interaction and the role UIAlerts play in facilitating this interaction. The tips and techniques covered here should provide a strong foundation for incorporating alerts effectively and creating a seamless user experience.
We encourage you to experiment with different configurations and approaches to find what best fits your application’s needs. Whether you’re a beginner or an experienced developer, mastering UIAlerts is a step toward building more interactive and user-friendly mobile applications.
Thank you for following along, and happy coding!