
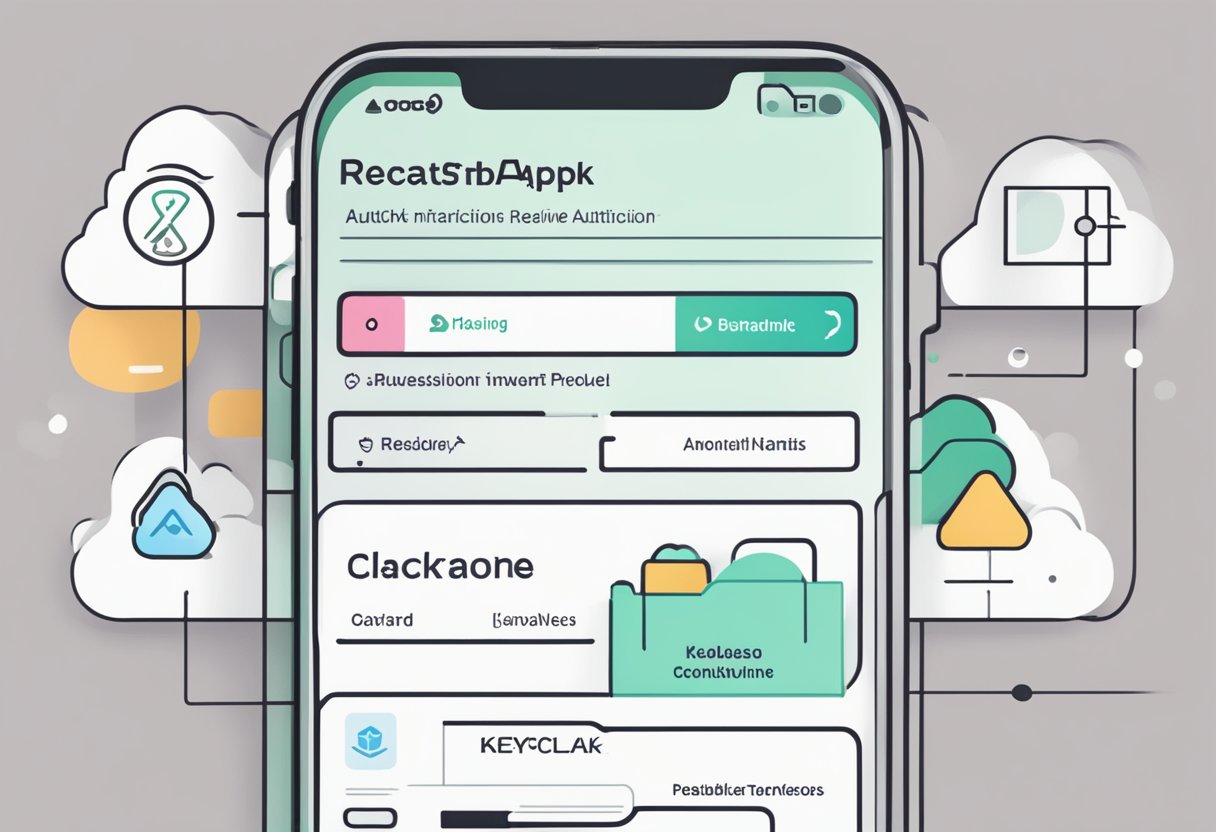
React Native App-Auth Keycloak is a popular open-source library that provides a simple and secure way to add authentication and authorization to React Native applications. With this library, developers can easily integrate their apps with Keycloak, an open-source identity and access management solution. Keycloak offers a wide range of features, including single sign-on, social login, and multi-factor authentication, making it an ideal choice for enterprise-level applications.
One of the main benefits of using React Native App-Auth Keycloak is that it simplifies the authentication process for developers. They no longer need to worry about implementing complex authentication and authorization logic themselves. Instead, they can rely on the library to handle most of the heavy lifting, allowing them to focus on other aspects of their application.
In addition, React Native App-Auth Keycloak is highly customizable, allowing developers to tailor the authentication process to their specific needs. They can choose which authentication providers to use, customize the login screen, and configure multi-factor authentication options. Overall, React Native App-Auth Keycloak is a powerful tool that can help developers add robust authentication and authorization capabilities to their applications with ease.
Índice De Conteúdo
Setting Up Keycloak
Keycloak Server Configuration
Before setting up Keycloak, it is important to ensure that the server meets the minimum requirements. Keycloak requires Java 8 or higher and a minimum of 2GB of RAM. Once these requirements are met, the first step is to download and install Keycloak from the official website.
After installation, the next step is to create a new realm in Keycloak. A realm is a container for a set of users, credentials, and authentication mechanisms. In the realm settings, the user can configure authentication providers, clients, users, roles, and other settings.
React Native Environment Setup
To set up Keycloak in a React Native environment, the user must first install the react-native-app-auth library. This library provides a set of components and functions for integrating OAuth2 and OpenID Connect authentication flows into React Native apps.
Once the library is installed, the user can configure the authentication flow by providing the necessary parameters such as the client ID, client secret, authorization endpoint, token endpoint, and redirect URI. These parameters are obtained from the Keycloak server configuration.
After configuring the authentication flow, the user can then use the library’s components and functions to initiate the authentication flow, handle the authentication response, and access protected resources.
Overall, setting up Keycloak for use in a React Native app involves configuring the Keycloak server and integrating the react-native-app-auth library into the app. With the right configuration and setup, Keycloak can provide a secure and reliable authentication solution for React Native apps.
Installing React Native App Auth

React Native App Auth is a library that provides a way to authenticate and authorize users in React Native applications. It supports different identity providers, including Keycloak. In this section, we’ll go through the steps to install React Native App Auth in a React Native project.
Adding Dependencies
To use React Native App Auth, you need to add it as a dependency to your project. You can do this by running the following command in your project directory:
npm install react-native-app-auth
This will install the latest version of React Native App Auth and its dependencies in your project.
Linking Libraries
After installing the package, you need to link the native libraries to your project. You can do this by running the following command:
react-native link react-native-app-auth
This will link the native libraries for both iOS and Android platforms.
Alternatively, you can also link the libraries manually by following the instructions in the official documentation.
Once the libraries are linked, you can start using React Native App Auth in your project.
In summary, to install React Native App Auth in a React Native project, you need to add it as a dependency and link the native libraries. These steps are straightforward and well-documented in the official documentation.
Auth Configuration
Creating a Keycloak Client
To configure authentication for a React Native app using Keycloak, the first step is to create a Keycloak client. This can be done by logging into the Keycloak admin console and navigating to the “Clients” section. From there, click the “Create” button and fill in the required fields such as Client ID, Root URL, and Redirect URIs.
Once the client is created, make sure to note down the Client ID and Client Secret as they will be needed later for configuring the auth object.
Configuring the Auth Object
After creating the Keycloak client, the next step is to configure the auth object in the React Native app. This can be done using the react-native-app-auth library which provides an easy-to-use interface for handling authentication.
To configure the auth object, first install the react-native-app-auth library using npm or yarn. Then, in the app’s code, import the library and create a new auth object using the createConfig function. This function takes in several parameters including the client ID and client secret that were noted down earlier.
Once the auth object is created, it can be used to initiate the authentication flow by calling the authorize function. This function will redirect the user to the Keycloak login page where they can enter their credentials and authenticate.
Overall, configuring authentication for a React Native app using Keycloak and react-native-app-auth is a straightforward process that can be accomplished with just a few steps.
Implementing Authentication
React Native App Auth Keycloak provides a seamless way to implement authentication in your app. This section will cover the steps required to implement authentication using this library.
Building the Login Function
The first step in implementing authentication is to build the login function. The login function should initiate the authentication process and redirect the user to the Keycloak login page. Once the user has successfully authenticated, Keycloak will redirect the user back to your app with an access token.
To build the login function, you can use the authorize method provided by the react-native-app-auth library. This method takes an object containing the configuration for the authorization request. The configuration object should include the clientId, redirectUrl, authorizationEndpoint, and scopes.
Handling the Token Response
Once the user has successfully authenticated, Keycloak will redirect the user back to your app with an access token. Your app should handle this token response and store the access token for future use.
To handle the token response, you can use the exchangeCode method provided by the react-native-app-auth library. This method takes the authorization code returned by Keycloak and exchanges it for an access token. Once you have the access token, you can store it in a secure location such as the device’s keychain or secure storage.
In conclusion, implementing authentication using React Native App Auth Keycloak is a straightforward process. By building the login function and handling the token response, you can seamlessly integrate authentication into your app.
Troubleshooting
Common Issues
When working with React Native App Auth Keycloak, there are a few common issues that developers might encounter. One of the most common issues is related to invalid client credentials. This can occur if the client ID or client secret is incorrect or if the client is not authorized to access the requested resource. To resolve this issue, developers should double-check the client ID and client secret and ensure that the client has the necessary permissions to access the resource.
Another common issue is related to expired access tokens. This can occur if the access token has expired or if the refresh token has been revoked. To resolve this issue, developers should refresh the access token using the refresh token or obtain a new access token using the authorization code flow.
Debugging Tips
Debugging React Native App Auth Keycloak can be challenging, but there are a few tips that can help developers identify and resolve issues more quickly. One useful technique is to enable logging and debugging output. This can help developers identify the root cause of issues and determine the appropriate course of action.
Another useful technique is to use tools such as Postman or cURL to test API endpoints and verify that the correct data is being returned. This can help developers identify issues with the API or with the client application.
Additionally, developers should ensure that they are using the latest version of React Native App Auth Keycloak and that all dependencies are up to date. This can help prevent compatibility issues and ensure that the application is running smoothly.
By following these troubleshooting tips, developers can quickly identify and resolve issues with React Native App Auth Keycloak, ensuring that their applications are running smoothly and securely.