
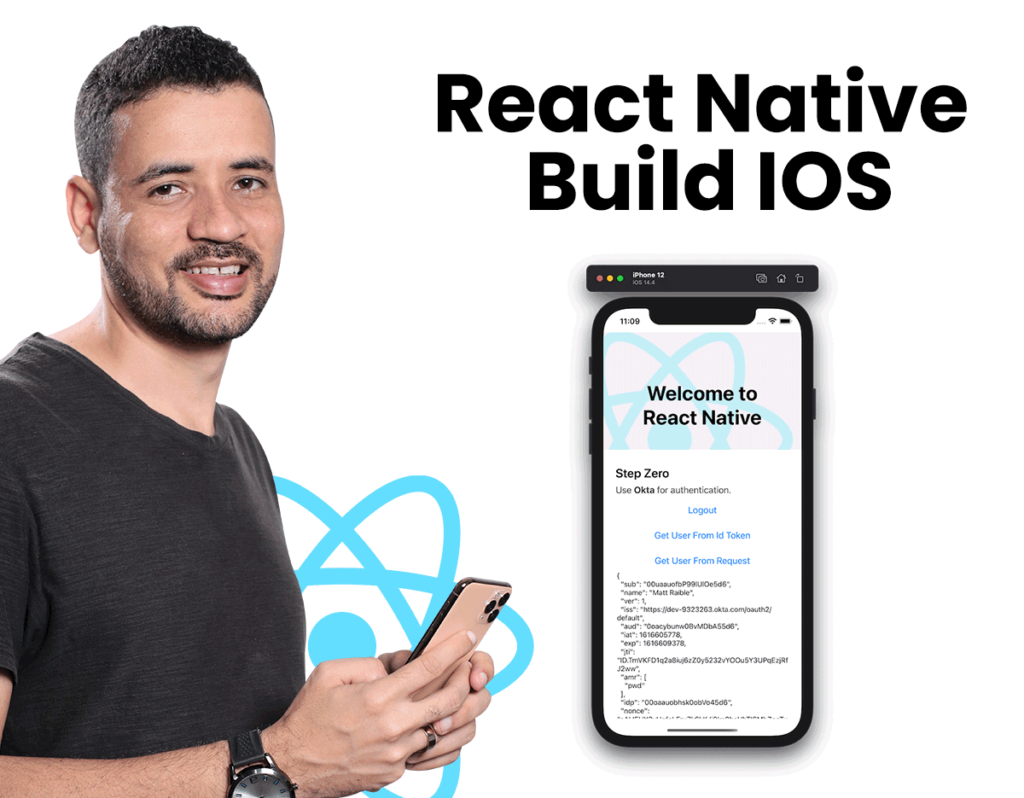
React Native is a popular framework that is used to build cross-platform mobile applications. It allows developers to write code once and deploy it on both iOS and Android platforms, which saves time and effort. However, building an iOS app with React Native can be a bit challenging, especially for those who are new to the framework. In this article, we will explore the process of building an iOS app with React Native, and provide tips and tricks to make the process smoother.
The first step in building an iOS app with React Native is to set up the development environment. This involves installing Xcode, the iOS simulator, and other tools that are required for iOS development. Once the environment is set up, developers can start building their app using React Native components and APIs. They can use pre-built UI components, such as buttons and text fields, or create their own custom components using JavaScript.
One of the main challenges of building an iOS app with React Native is ensuring that the app looks and feels native on iOS devices. This requires careful attention to detail, such as using the correct font sizes and colors, and ensuring that the app responds correctly to user interactions. Developers can use tools such as React Native Debugger and Xcode’s debugging tools to test and debug their app, and ensure that it meets the standards for iOS app development.
Índice De Conteúdo
Setting Up the Development Environment
Installing Dependencies
Before starting to build iOS apps with React Native, it is necessary to install some dependencies. The first thing to do is to install Node.js, which is a JavaScript runtime. It can be downloaded from the official website and installed on the local machine. Once Node.js is installed, the next step is to install the React Native command-line interface (CLI) using npm. This can be done by running the following command in the terminal:
npm install -g react-native-cli
In addition to Node.js and the React Native CLI, it is also necessary to install Xcode, which is an integrated development environment (IDE) for macOS. Xcode can be downloaded from the App Store or the Apple Developer website. Once Xcode is installed, the developer needs to install the Xcode command-line tools. This can be done by running the following command in the terminal:
xcode-select --install
Xcode Configuration
After installing the necessary dependencies, the developer needs to configure Xcode. First, the developer needs to open Xcode and accept the license agreement. Then, the developer needs to create a new Xcode project by selecting “File” > “New” > “Project” from the menu bar. In the “New Project” window, the developer needs to select “Application” under the “iOS” tab and then select “Single View App” as the template. The developer then needs to fill in the details for the project, such as the name, organization, and bundle identifier.
Once the project is created, the developer needs to configure the build settings. The developer needs to select the project in the project navigator and then select the project target. In the “General” tab, the developer needs to set the “Deployment Target” to the minimum version of iOS that the app will support. The developer also needs to set the “Bundle Identifier” to the same bundle identifier that was used when creating the project.
In conclusion, setting up the development environment for React Native iOS app development involves installing Node.js, the React Native CLI, and Xcode, as well as configuring Xcode by creating a new project and setting the build settings. By following these steps, developers can start building iOS apps with React Native.
Initializing a New React Native Project
To start building a React Native app for iOS, developers must first initialize a new project. This involves installing the necessary dependencies and setting up the project structure.
One way to initialize a new project is by using the React Native CLI. After installing the CLI, developers can run the following command to create a new project:
npx react-native init MyProject
This command will create a new directory called MyProject with the basic project structure and necessary dependencies installed.
Developers can also specify the version of React Native they want to use by adding the --version flag followed by the version number. For example:
npx react-native init MyProject --version 0.64.2
This will create a new project with React Native version 0.64.2 installed.
Once the project is initialized, developers can navigate to the project directory and start building their app. They can use tools like Xcode to run the app on an iOS simulator or a physical device.
Overall, initializing a new React Native project for iOS is a straightforward process that can be done using the React Native CLI. By specifying the desired version of React Native, developers can ensure that their app is built using the latest features and improvements.
Building the iOS App
React Native is a popular framework for building cross-platform mobile applications. It allows developers to build apps for both iOS and Android platforms using a single codebase. In this section, we will discuss how to build the iOS app using React Native.
Running the App on a Simulator
The iOS simulator is a tool that allows developers to test their app on a virtual iOS device. To run the app on a simulator, the developer needs to follow these steps:
- Open Xcode and select “Open Developer Tool” from the “Xcode” menu.
- Select “Simulator” from the list of available tools.
- Select the desired iOS version and device type from the simulator menu.
- Run the React Native app using the command “react-native run-ios” in the terminal.
Once the app is built, it will automatically launch in the selected simulator. The developer can then test the app and make any necessary changes.
Building for a Physical Device
Building an app for a physical iOS device requires a few additional steps. The developer needs to follow these steps:
- Connect the iOS device to the development machine using a USB cable.
- Open Xcode and select the connected device from the list of available devices.
- Select the desired iOS version from the device menu.
- Run the React Native app using the command “react-native run-ios” in the terminal.
Once the app is built, it will automatically launch on the connected iOS device. The developer can then test the app and make any necessary changes.
In conclusion, building an iOS app using React Native is a straightforward process. By following the steps outlined in this section, developers can easily test their app on both the simulator and physical devices.
Debugging and Troubleshooting
Common Build Errors
When building an iOS app with React Native, it is common to encounter build errors. These errors can be caused by a variety of factors, such as missing dependencies, incorrect configurations, or incompatible versions of software.
One common build error is the “Xcode build failed” error. This error can be caused by a variety of issues, such as missing or incorrect provisioning profiles, incorrect code signing settings, or outdated versions of Xcode. To resolve this error, developers can try cleaning the project, updating Xcode, or adjusting the code signing settings.
Another common build error is the “duplicate symbols” error. This error can occur when multiple files contain the same symbol, such as a function or variable name. To resolve this error, developers can try removing the duplicate files or renaming the symbols to avoid conflicts.
Using Debugging Tools
Debugging is an essential part of the development process, and React Native provides a variety of tools to help developers debug their iOS apps. One such tool is the React Native Debugger, which provides a graphical user interface for debugging React Native apps.
Another tool is the Chrome Developer Tools, which can be used to debug JavaScript code running in the app. This tool allows developers to set breakpoints, inspect variables, and step through code to identify and resolve issues.
In addition to these tools, React Native also provides a variety of logging and error reporting features. Developers can use console.log statements to output information to the console, or use the React Native error reporting system to capture and report errors in the app.
By using these debugging tools, developers can quickly identify and resolve issues with their iOS apps built with React Native.
Deployment and Distribution
Configuring App Store Connect
Before deploying a React Native app to the App Store, the developer needs to configure App Store Connect. This involves creating an App Store Connect account, setting up a new app, and configuring its metadata. The metadata includes the app name, description, keywords, and screenshots.
Developers need to ensure that the app meets the App Store Review Guidelines and that it is properly localized. They also need to set up the app’s pricing and availability. Once the metadata is configured, the developer can proceed with archiving and uploading the app to the App Store.
Archiving and Uploading to App Store
To deploy a React Native app to the App Store, the developer needs to create an archive of the app using Xcode. The archive should be created using the Release configuration and should be signed with a valid certificate and provisioning profile.
After creating the archive, the developer needs to upload it to App Store Connect using Xcode or Application Loader. The upload process involves selecting the archive, specifying the app’s metadata, and submitting it for review.
Once the app is submitted, it undergoes a review process by the App Store review team. The review process typically takes a few days, during which the app is tested for compliance with the App Store Review Guidelines. If the app is approved, it is published on the App Store and made available for download by users.
In summary, deploying a React Native app to the App Store involves configuring App Store Connect, creating an archive of the app, and uploading it to App Store Connect. The process requires attention to detail and compliance with the App Store Review Guidelines. By following the guidelines and best practices, developers can ensure a smooth deployment process and a successful launch on the App Store.