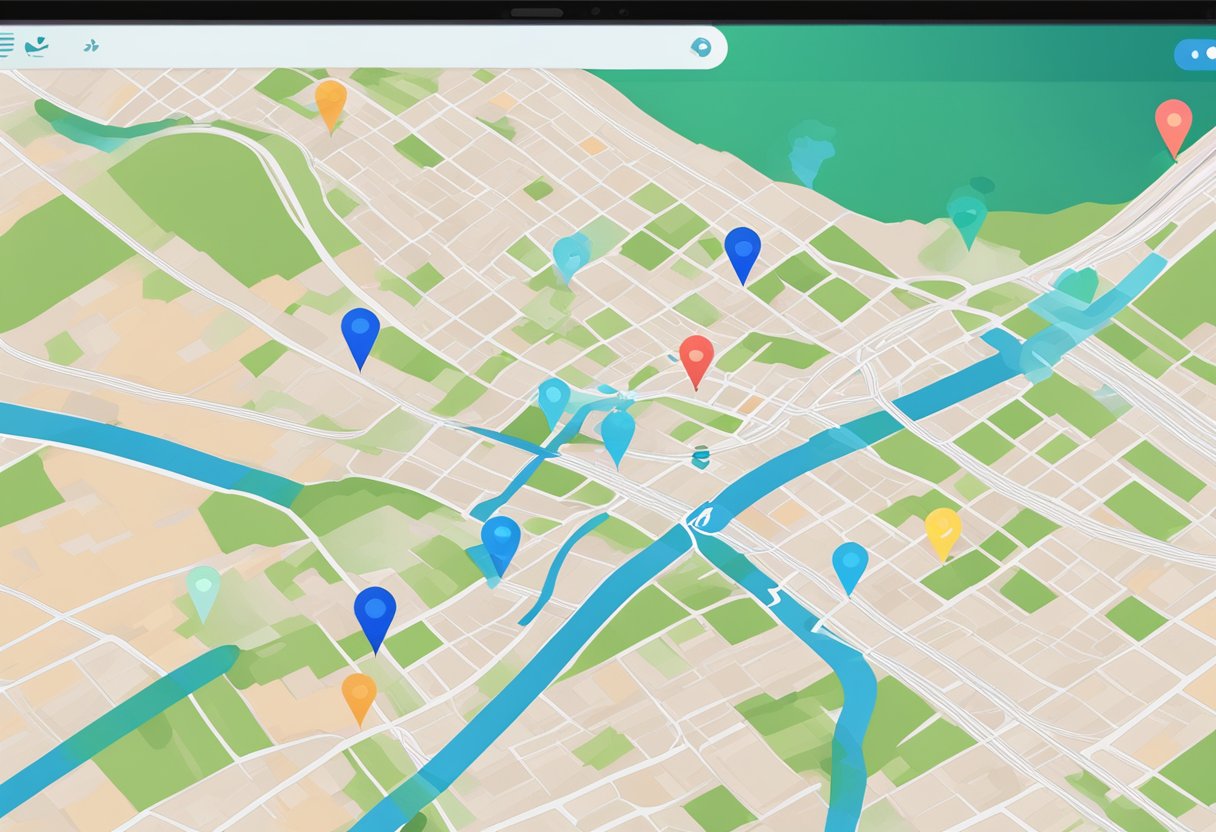
React Native Mapbox GL is a popular library that enables developers to build animated maps and visualizations for mobile applications. It provides a powerful set of tools for creating custom maps with advanced features, such as real-time updates, geolocation, and interactive markers. With React Native Mapbox GL, developers can easily integrate maps into their applications and create engaging user experiences.

One of the key benefits of using React Native Mapbox GL is its flexibility. Developers can choose from a wide range of map styles, including satellite imagery, street maps, and terrain maps, and customize them to suit their needs. They can also add custom data layers, such as weather data, traffic information, and points of interest, to enhance the user experience.
Another advantage of React Native Mapbox GL is its ease of use. The library comes with a comprehensive set of documentation and examples, making it easy for developers to get started and build complex maps and visualizations. Additionally, it is designed to work seamlessly with other React Native components, such as buttons, text inputs, and animations, allowing developers to create rich and interactive user interfaces.
Índice De Conteúdo
Getting Started with React Native and Mapbox
React Native is a popular framework for building mobile applications, and Mapbox GL is a powerful tool for creating interactive maps and visualizations. In this section, we will discuss how to set up the development environment, install React Native Mapbox GL, and configure a basic Mapbox map.
Setting Up the Development Environment
Before getting started with React Native Mapbox GL, it is important to have a development environment set up. This involves installing Node.js, the React Native CLI, and a text editor of your choice. Once these are installed, you can create a new React Native project using the following command:
npx react-native init MyMapboxApp
Installing React Native Mapbox GL
After setting up the development environment, the next step is to install React Native Mapbox GL. This can be done using npm, the Node.js package manager, with the following command:
npm install @react-native-mapbox-gl/maps --save
This will install the necessary dependencies and add the package to your project’s package.json file.
Basic Mapbox Configuration
Once React Native Mapbox GL is installed, you can configure a basic Mapbox map by adding a MapView component to your app’s main screen. This component takes a style URL and an access token as props, which can be obtained from the Mapbox website.
import React from 'react';
import MapboxGL from '@react-native-mapbox-gl/maps';

MapboxGL.setAccessToken('<your access token>');

const App = () => {
  return (
    <MapboxGL.MapView
      styleURL={MapboxGL.StyleURL.Street}
      style={{flex: 1}}
    />
  );
};

export default App;
In this example, the MapView component is set to use the Street style and fill the entire screen. Once the app is launched, you should see a basic Mapbox map displayed on the screen.
Overall, setting up a development environment, installing React Native Mapbox GL, and configuring a basic map are the first steps towards building animated maps and visualizations with React Native and Mapbox.

